|
millar-projectProgress Pictures and Narrative of Courtyard Construction

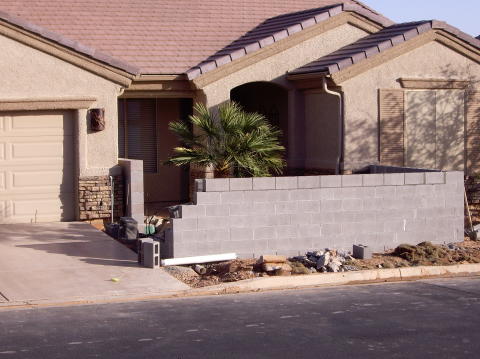
The millar-project is a job we were hired to do. This job came from one just like it. In fact the two homes were identical. This one turned out nicer in my opinion because of the colors used in the pavers. The first thing we had to do was remove the trees that were blocking the way. We moved one palm toward the street and kept it, the other shade tree we moved next door.


You know I'm still wondering what Marjene was thinking right there. Was it -"boy I hope these guys know what there doing ? " . Of course we do, and to this day Marjene still refers people to us.

After transplanting the tree at the millar-project the next thing to do was build the
landscape fencing.
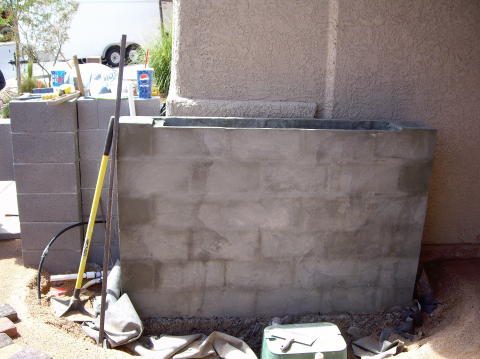
We poured a footing 16" wide and 10" deep with two pieces of 1/2" rebar in it. The footing has upright pieces of rebar at least every 4'. The blocks we used are not 8", we just used 6" blocks for a more dainty appearance, and so that the rock cap would overhang just a little more.
We also built the water feature wall. This wall has a rubber liner under it and a circulation pipe coming up the center. The outside of the weeping wall is coated with a water sealant before the stone is installed. The wall has a trough in the top brick level for the water to pool before it runs out. The area we want the water to run out is cut down one inch lower than the rest of the wall. We aren't worried about getting it perfectly level right now, the stone mason will do that when he applies the stone to the sealed wall.
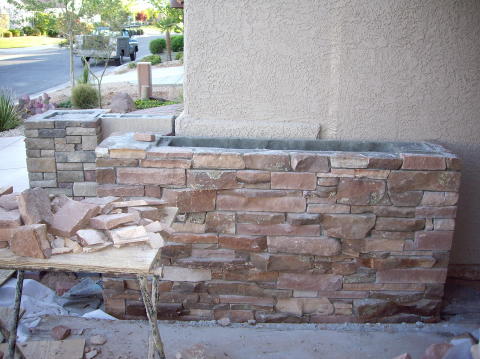
Now the stone mason installs the real stone to the face of the wall fountain at the millar-project. Jagged edges and irregular shaped rocks are best. We used a mix of Kanab stone and 2 other lighter colors to create a good contrast of light tan, purple, and medium brown colors.
Next we installed sand and graded it. But first we installed sleeves and a drain system that connects directly to the landscape drainage system. This four inch pipe takes the water to the street without running all over the patio. Nothing would be worse than all that roof water running onto the patio and then filling up the waterfeature reservoir.
laying out the pattern of the brick pavers is next. Shown here is the old town blend by Pavestone. Very colorful isn't it? Notice how we made the angles at a 45 degree difference to the house walls and the driveway.


Next the stucco stone is applied. It isn't real stone but it sure looks real. Great color match too. 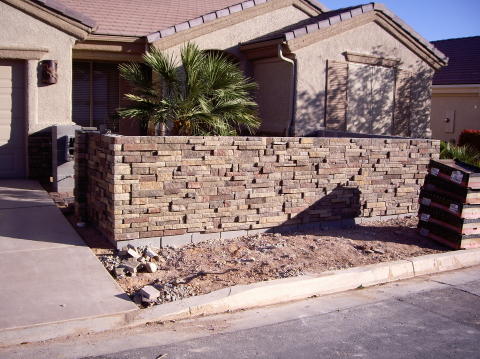
And finally we cap the wall with a real stone cap, this cap is 2" thick and 12" wide. 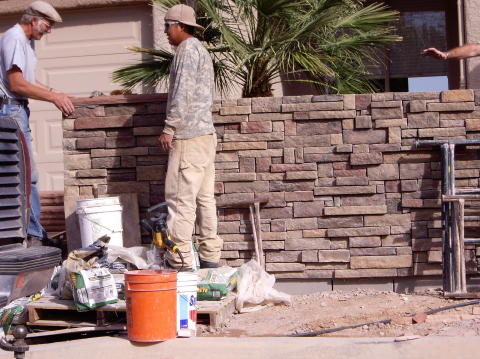
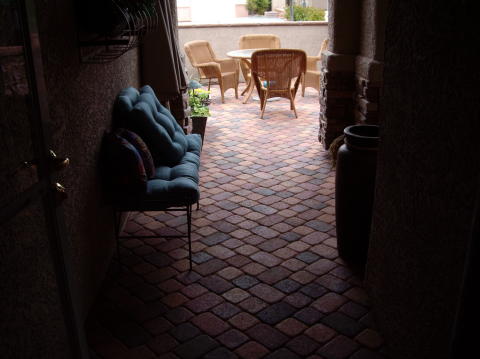
Now we can see the finished product from the front door perspective.
and now a little further toward the front notice how nice the finished product of the water wall fountain looks.
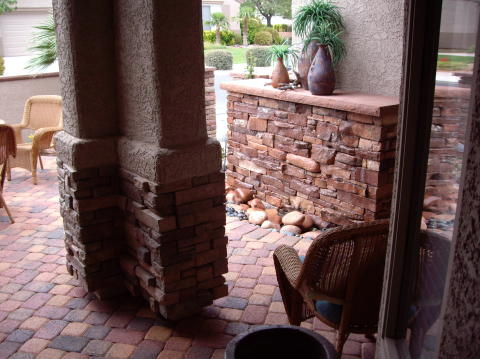
Here's another angle. This picture was actualy taken six months after we finished the project. Notice the green moss growing on the fountain. 
This is looking in from the wrought iron gate perspective of the millar-project. 
|

